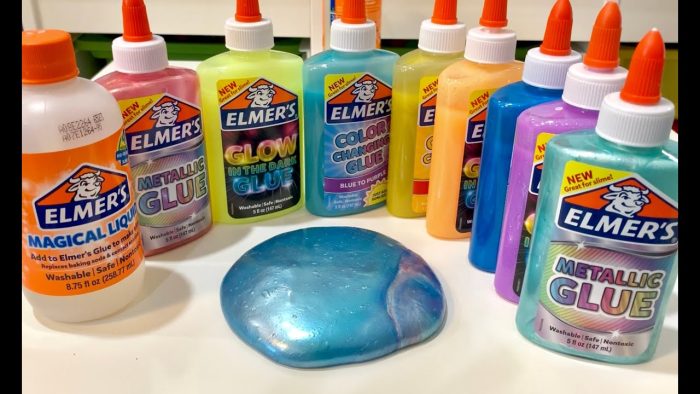
Making slime is one of the most fun and satisfying DIY activities! Whether you’re looking for a creative project to do with friends or simply want to try something new, making slime is easy, inexpensive, and perfect for all ages. This simple guide will walk you through the best way to make slime using household ingredients.
What You Need to Make Slime at Home
Before you start creating your slime, make sure you have the following slime-making ingredients:
- White school glue (like Elmer Glue)
- Baking soda (for the perfect slime texture)
- Contact lens solution (contains boric acid, essential for activation)
- Shaving cream (optional, for extra fluffy slime)
- Food coloring (optional, for colorful slime)
- A bowl and spoon for mixing

Step-by-Step Guide on How to Make Slime
Making slime is quick and easy. Follow these steps to create the perfect slime right in your kitchen!
Step 1: Mix Glue and Baking Soda
Start by pouring ½ cup of white school glue into a bowl. If you need more slime, feel free to double the amount. Add 1 teaspoon of baking soda to the glue and mix thoroughly. This mixture will serve as the base for your slime. Baking soda helps give the slime the right texture.
Step 2: Add Shaving Cream for Fluffy Slime
If you want to make your slime fluffy and soft, add 1 cup of shaving cream to the mixture. This is optional, but it will give your slime an airy, squishy texture that is fun to play with. Stir well until everything is mixed smoothly.
Step 3: Add Color to Your Slime
Next, add a few drops of food coloring to your slime mix. Choose any color you like, or mix different shades to create your unique slime. Stir until the food coloring is evenly distributed. The more drops you add, the brighter the color will be!
Step 4: Activate Your Slime
To activate the slime, you’ll need a contact lens solution. Slowly add 1 tablespoon of the solution and stir continuously. This will cause the slime to come together and firm up. If the slime is still too sticky, add a few more drops of contact lens solution until it reaches the perfect texture.
Step 5: Knead the Slime
Once your slime begins to form, it’s time to knead it with your hands. This will help eliminate any stickiness and improve the texture. If the slime is too sticky, simply add more contact lens solution. The more you knead, the smoother and stretchier your slime will become!
Step 6: Store and Play with Your Slime
Now that you’ve made your perfect slime, it’s time to have some fun! Stretch, squish, and squelch your slime for a satisfying experience. If you’re not ready to play yet, store your slime in an airtight container to keep it fresh. Your slime will last about a week if stored properly.
Creative Variations of Slime
Once you’ve mastered the basic slime recipe, why not get creative and try different slime variations? Here are some fun slime ideas to try:
- Glitter Slime: Add glitter for some sparkle and shine.
- Color-Changing Slime: Mix in color-changing beads that change colors with heat.
- Glow-in-the-Dark Slime: Use glow-in-the-dark paint or pigment to make your slime glow.
- Butter Slime: Add soft clay (like Daiso clay) to make your slime feel like butter.
Troubleshooting Slime Making
Sometimes, things don’t go as planned. Here’s how to troubleshoot common slime-making problems:
- Slime is too sticky: Add a little more contact lens solution and knead until it’s less sticky.
- Slime is too hard: Add a small amount of water or glue to loosen up the slime.
- Slime won’t form: Make sure you’re using contact lens solution with boric acid. Adding a bit more baking soda can help too.
Why Slime is the Best DIY Project
Making slime is a great way to express creativity and have fun. It’s an activity that can be enjoyed alone or with friends, making it perfect for rainy days, parties, or just a quiet afternoon at home. Whether you’re experimenting with different textures or colors, there’s always something new to try when making slime!
How to Make Slime: Final Thoughts
With just a few simple ingredients and steps, you can make slime in no time! Slime-making is a perfect activity for anyone looking to get creative, relieve stress, or have fun with family and friends. So grab your supplies, follow the steps above, and enjoy your very own homemade slime.
FAQ
How long does homemade slime last?
If stored in an airtight container, your slime can last up to a week. Be sure to check the texture periodically!
Can I make slime without a contact lens solution?
Yes! If you don’t have a contact lens solution, you can use borax or liquid starch as alternatives.
How do I make the slime more stretchy?
Kneading the slime thoroughly and adding a bit more contact lens solution can make your slime stretchier.


