Master the Art of Drawing= Bunny with Simple Steps
Drawing:qckadq6trwq= bunny can be both a fun and rewarding experience, whether you’re a seasoned artist or just starting. In this guide, we’ll take you through a step-by-step process to create a charming bunny illustration, focusing on techniques, tools, and methods to achieve either a realistic or cartoon-style bunny. By the end of this guide, you’ll have a drawing that stands out, filled with personality and charm. Let’s dive in!
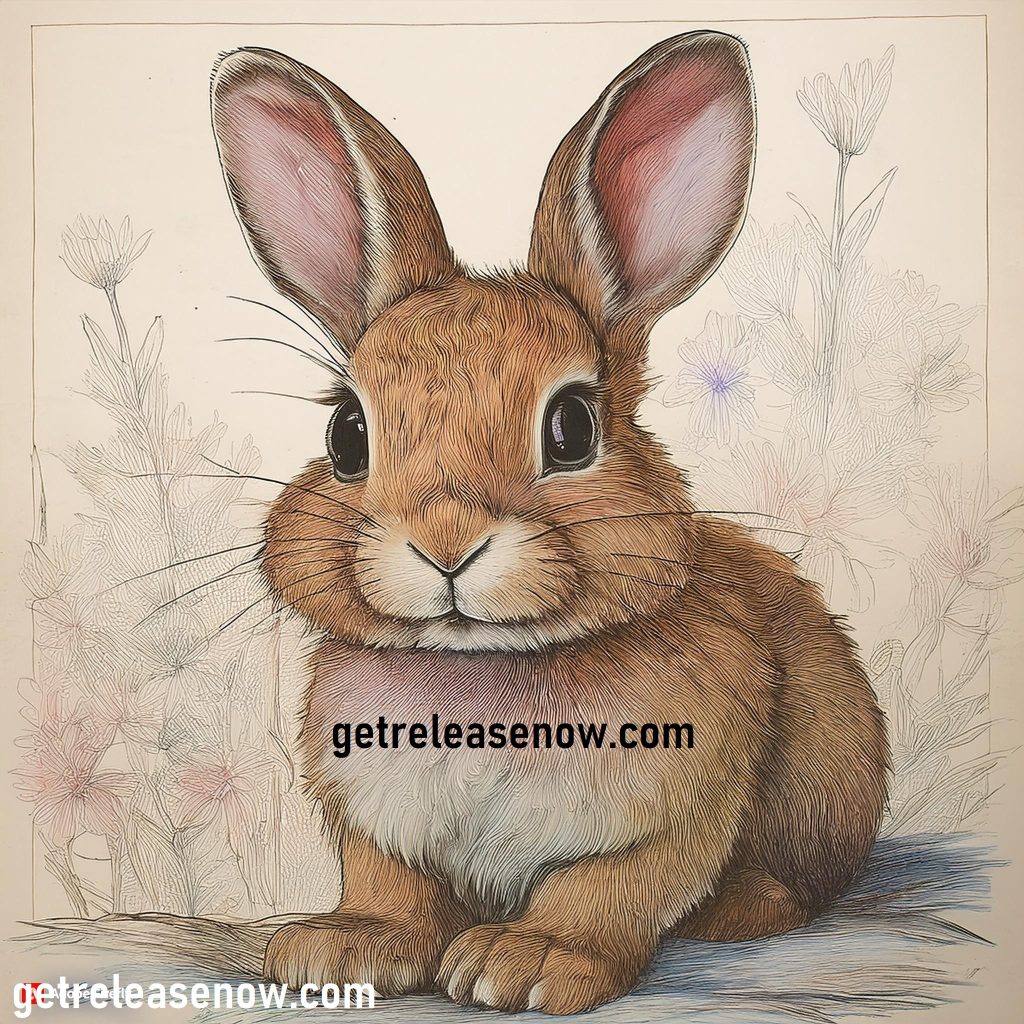
Table of Contents
- Introduction to Drawing Bunnies
- Gathering the Right Tools
- Sketching the Bunny Outline
- Adding Facial Details
- Drawing the Bunny’s Body and Legs
- Creating Fur Texture and Final Touches
- Tips for Realistic and Cartoon Bunny Drawings
- Common Mistakes and How to Avoid Them
- Success Stories: Artists Share Their Bunny Drawings
- Frequently Asked Questions about Bunny Drawing
- Conclusion: Perfecting Your Bunny Drawing
Introduction to Drawing:qckadq6trwq= bunny
Bunnies are among the most delightful animals to draw. Whether you’re aiming for a realistic portrayal or a fun, cartoon-style bunny, understanding their key features is crucial. Bunnies have distinctive characteristics such as large ears, soft fur, and fluffy tails. By following this guide, you’ll not only master drawing bunnies but also improve your overall drawing skills. Let’s start by gathering the materials you’ll need.
Gathering the Right Tools
Before you start, ensure you have the right tools for the best results. Here’s what you’ll need:
- Pencils (HB, 2B, 4B): Use different pencils for light outlines and shading.
- Eraser: A kneaded eraser works best to erase without damaging the paper.
- Paper: Use sketch paper for practice and smoother paper for the final artwork.
- Ruler: Helps maintain accurate proportions, especially for beginners.
- Blending Stumps: Useful for creating smooth shading.
- Colored Pencils or Markers (Optional): For adding color to your drawing.
Sketching the Bunny Outline
The first step is to create the basic outline of your bunny. Begin with light strokes, so adjustments are easy:
- Draw the Body: Start with a large oval shape for the bunny’s body.
- Add the Head: Draw a smaller oval above the body for the head, making sure it’s proportionate.
- Sketch the Ears: Draw two long, slightly curved ears extending from the head.
- Outline the Limbs: Draw short ovals for the front legs and larger ovals for the hind legs.
- Draw the Tail: Add a small circle at the back for the fluffy tail.
Once your outline is complete, refine the shapes to give them a more defined appearance.
Adding Facial Details
The face is the focal point of your bunny drawing. Here’s how to add expressive facial details:
- Eyes: Draw two large, round eyes just below the top of the head. Position them close together for a cute appearance.
- Note: Add a small, triangular nose centered between the eyes.
- Mouth: Draw a small curved line below the nose to form the mouth.
- Inner Ear Details: Add soft, fuzzy lines inside the ears to give them a natural texture.
Drawing the Bunny’s Body and Legs
Next, focus on shaping the body and legs, maintaining natural proportions:
- Front Legs: Refine the ovals drawn earlier into the shape of short front legs.
- Back Legs: Define the hind legs, making them larger and positioned to show the bunny in a ready-to-hop stance.
- Paws: Draw small ovals for the paws and add tiny toes for realism.
- Connect the Body: Smooth the lines to give the bunny a soft and fluffy appearance.
Creating Fur Texture and Final Touches
To make your bunny look lifelike, add texture to create the illusion of soft fur:
- Texture: Use light, short pencil strokes to create a fluffy fur texture, starting around the head and moving down the body.
- Shading: Use a blending stump to soften the fur texture and add depth. Focus on darker areas near the paws and belly.
- Eye Details: Shade the eyes slightly and add a small white highlight to give them a sparkle.
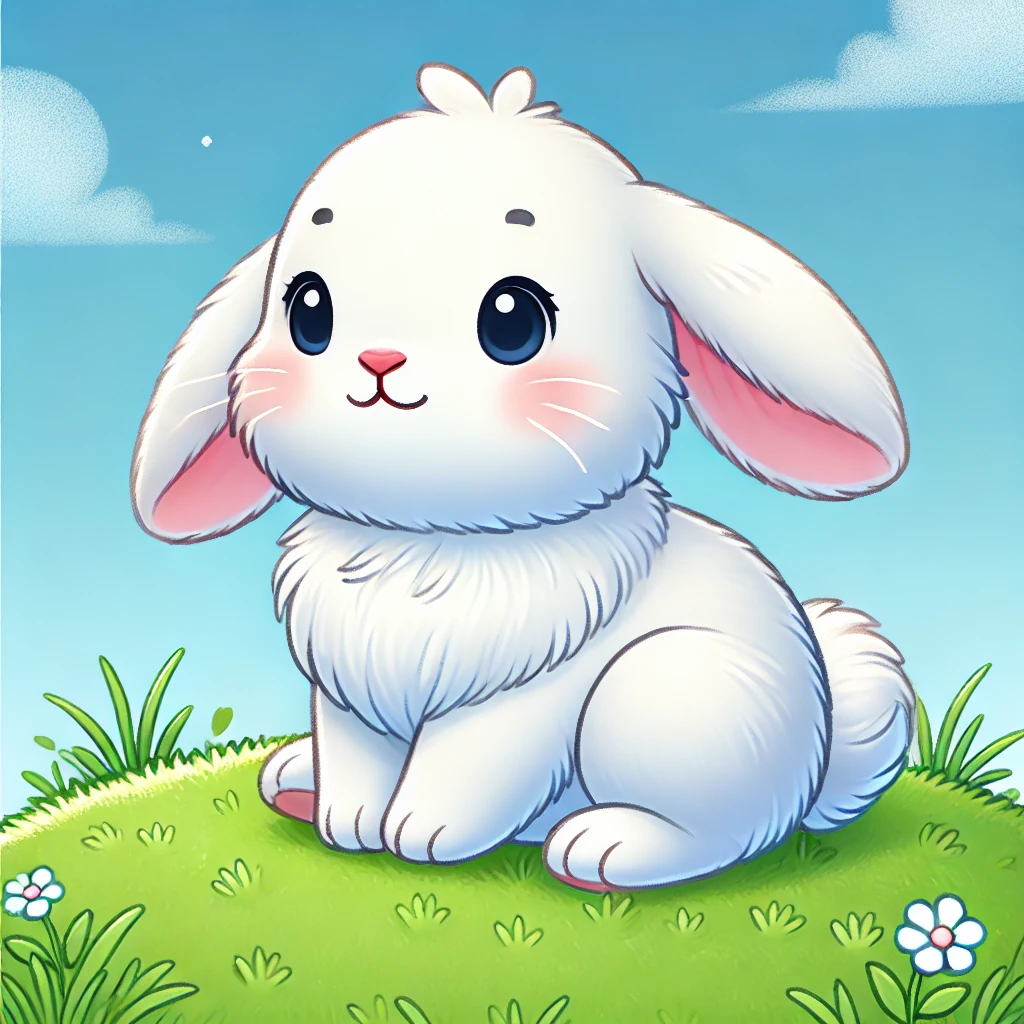
- Cartoon Option: For a cartoon look, simplify the fur texture and use bold, clear lines instead.
Tips for Realistic and Cartoon Bunny Drawings
Depending on your style, here are tips for both realistic and cartoon Drawing:qckadq6trwq= bunny:
- Realistic Bunny: Use gentle shading to replicate how light interacts with fur. Reference real-life bunny images to study their anatomy and fur texture.
- Cartoon Bunny: Exaggerate features like the eyes, ears, and tail. Use fewer details but bold outlines to create a playful and lively character.
Common Mistakes and How to Avoid Them
Here are some common mistakes and tips to avoid them:
- Incorrect Proportions: Ensure the head and body sizes are balanced. Use a ruler to measure and check proportions.
- Overshading: Avoid applying too much shading, which can make the bunny look flat. Build shading gradually.
- Stiff Lines: Draw soft, curved lines to give the bunny a fluffy and natural appearance.
Success Stories: Artists Share Their Bunny Drawings
Many artists have found success following this approach to drawing bunnies. They appreciated the clear steps, especially when it came to creating soft fur and adorable expressions. Beginners noted that practicing proportions improved their drawings, and adding fur texture was a rewarding challenge.
Frequently Asked Questions about Bunny Drawing
Q: What is the hardest part of drawing a bunny?
A: Many find getting the head and body proportions right to be challenging. Practice drawing basic shapes first.
Q: How do I create realistic fur?
A: Use quick, light strokes with a pencil, and blend to achieve a soft look. Observe how fur flows and lays across the body.
Q: Can I use colored pencils for a bunny drawing?
A: Yes, colored pencils are great for adding depth and texture. Layer colors to create a more natural appearance.
Conclusion: Perfecting Your Bunny Drawing
Drawing:qckadq6trwq= bunny can be a delightful experience with the right tools and guidance. Whether you’re aiming for a realistic portrayal or a cartoon character, practice and patience will help you refine your skills. By using this step-by-step guide and seeking out additional resources online, you’ll enhance your abilities and create beautiful bunny illustrations in no time!